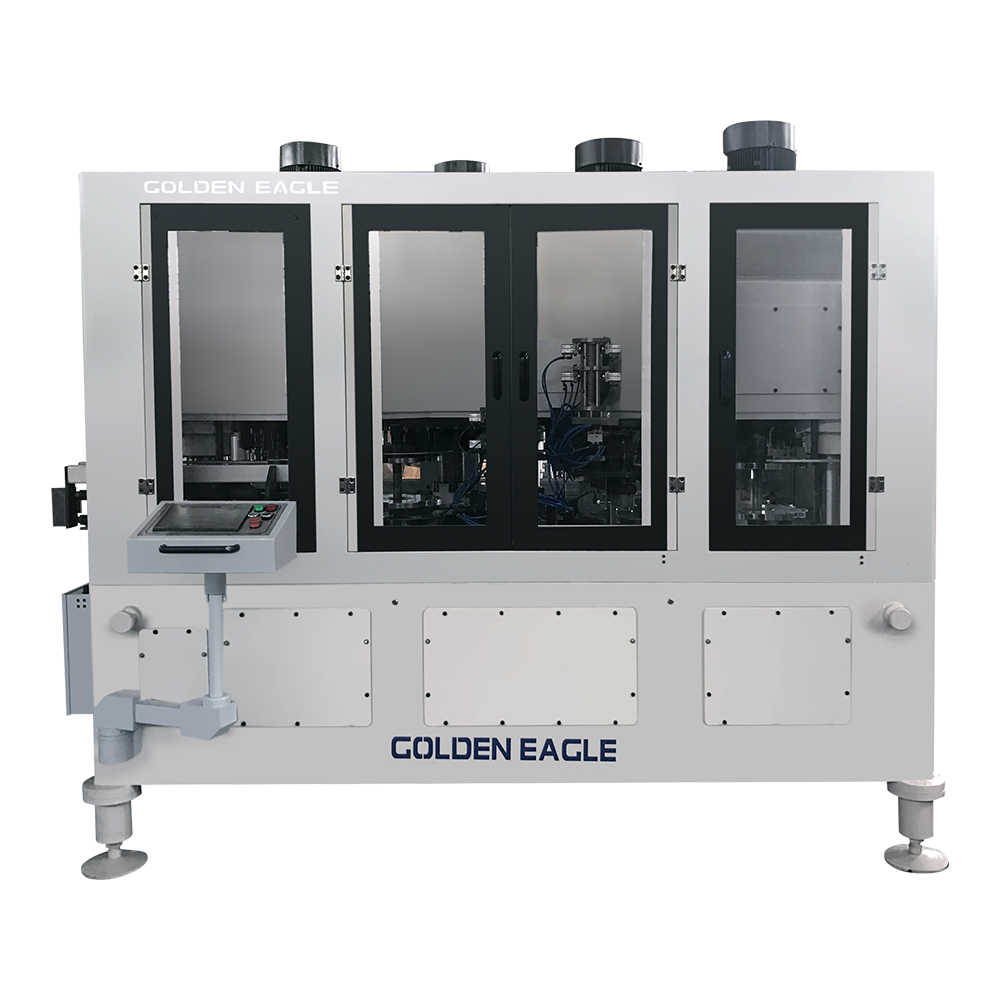
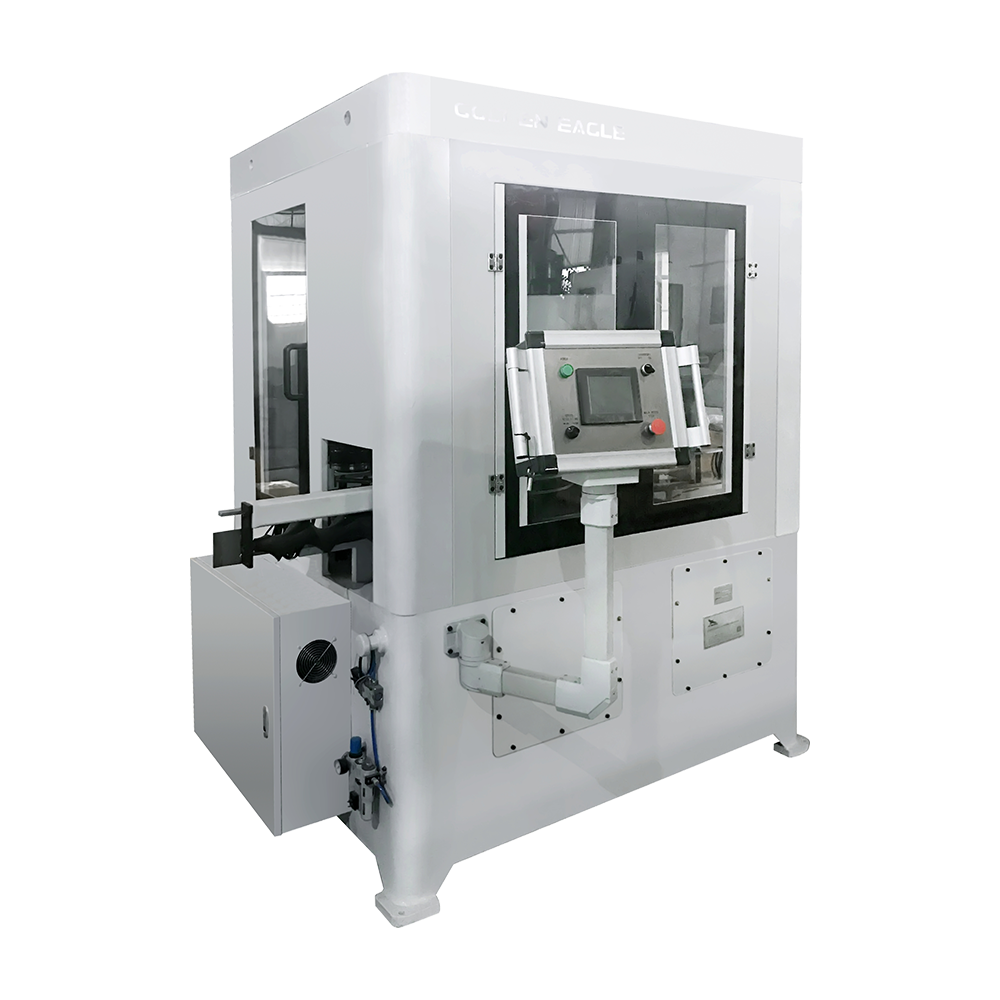
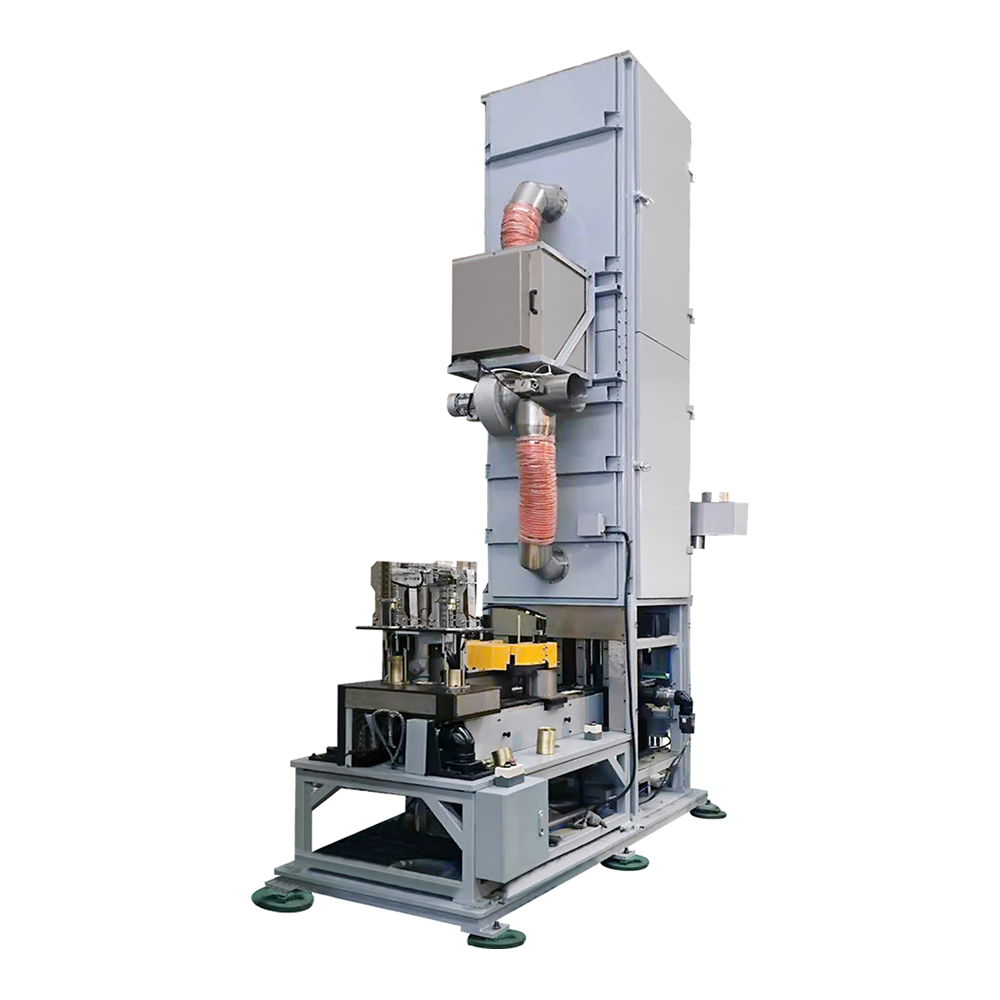
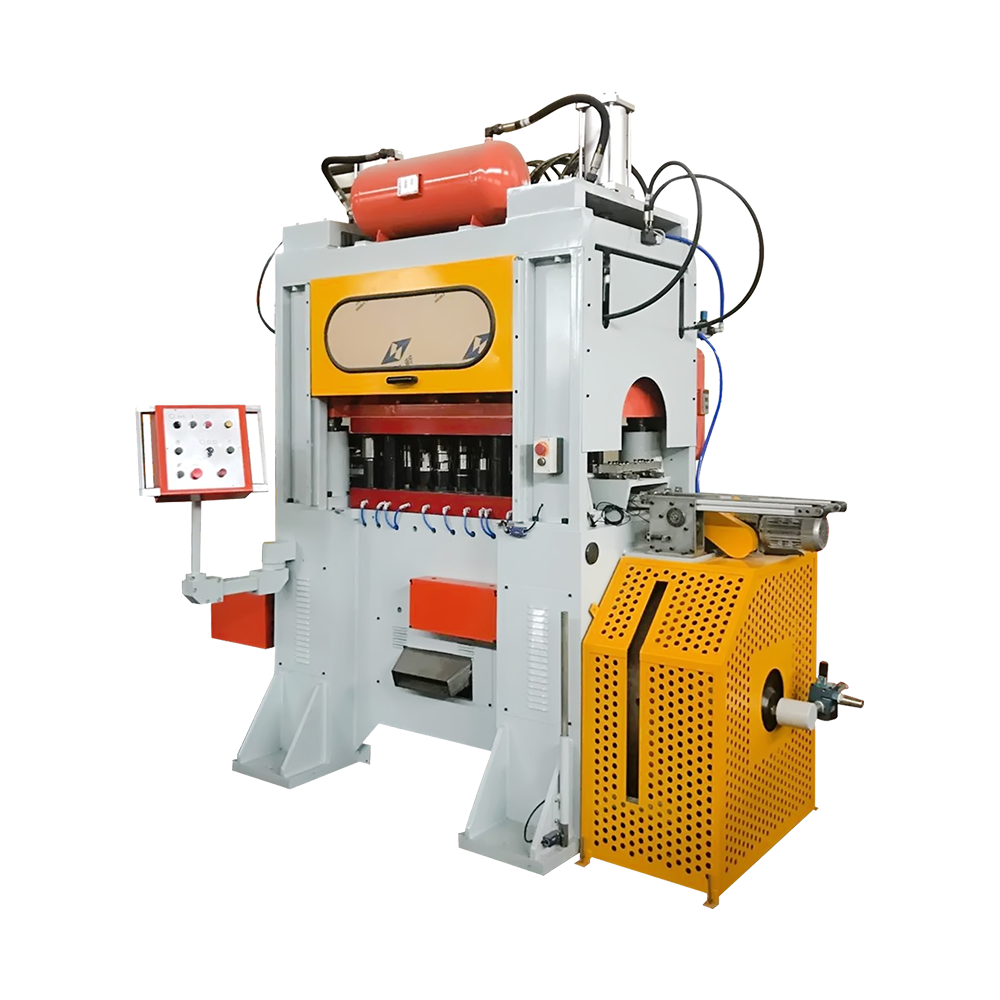
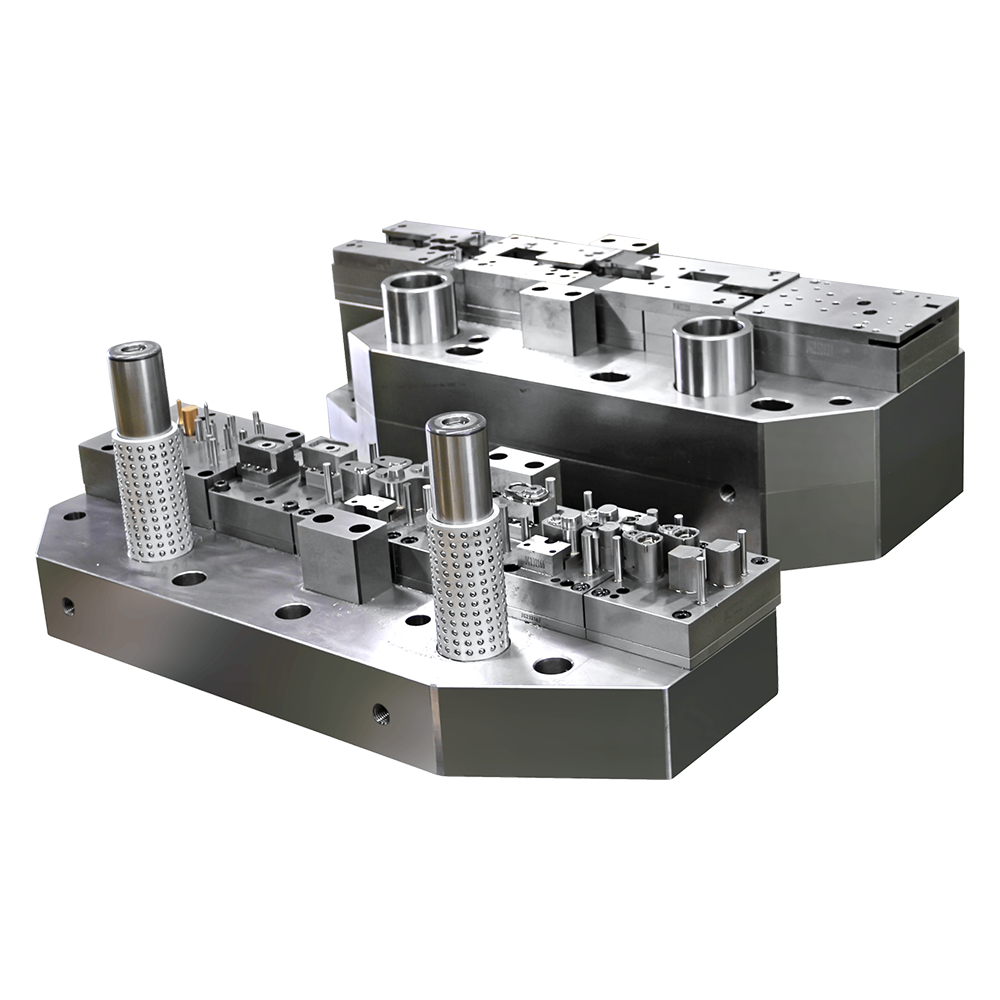
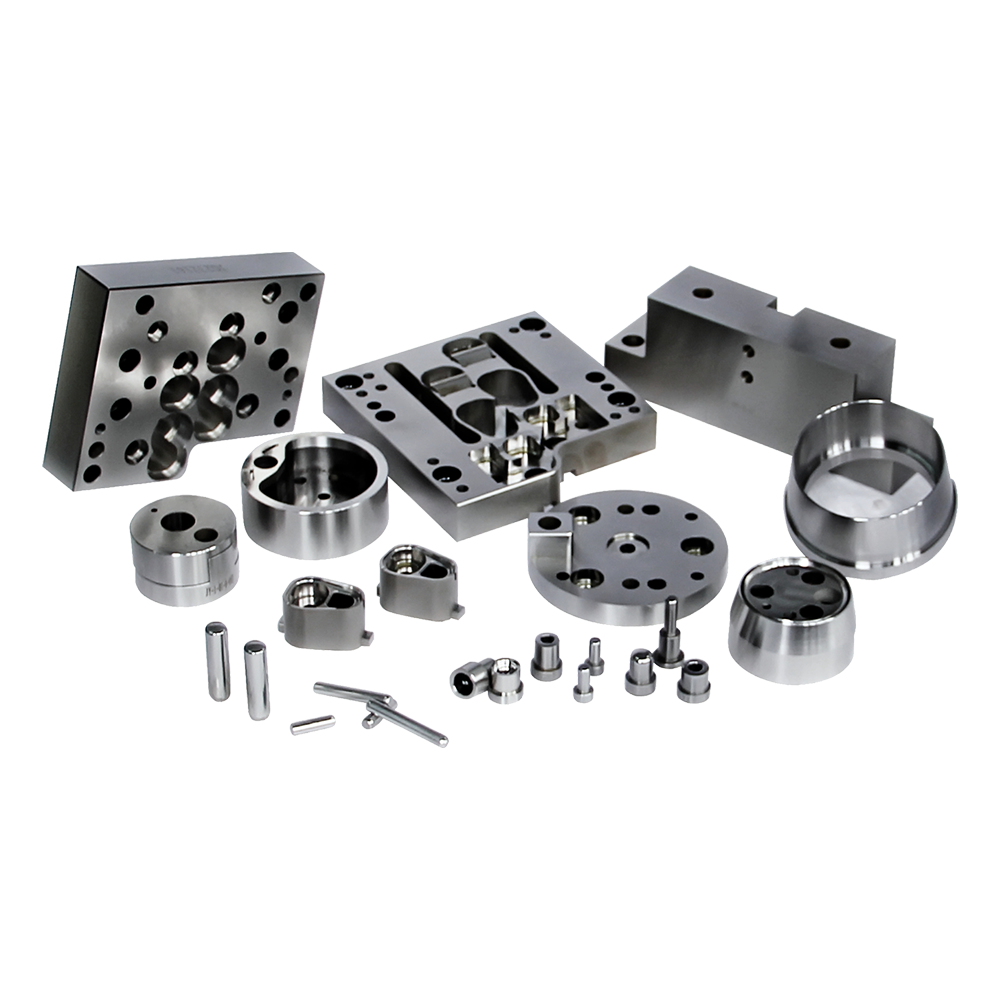
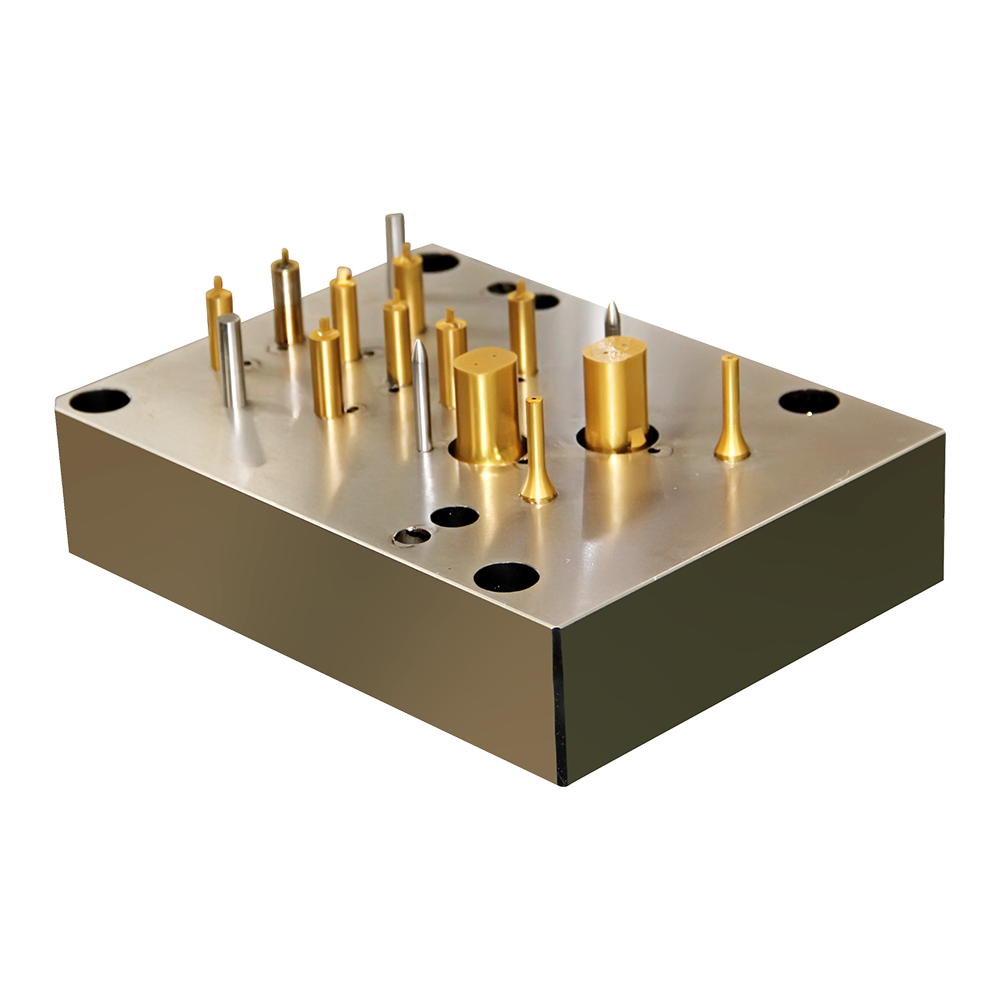
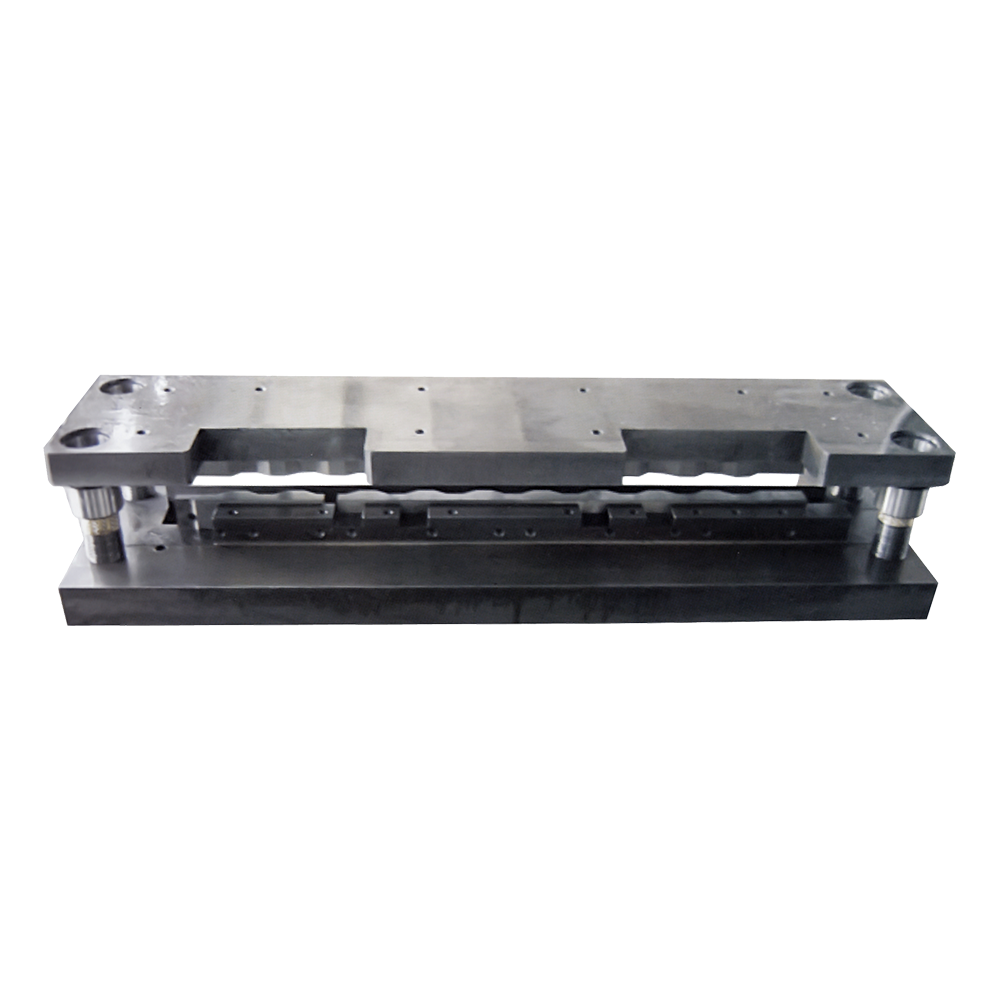
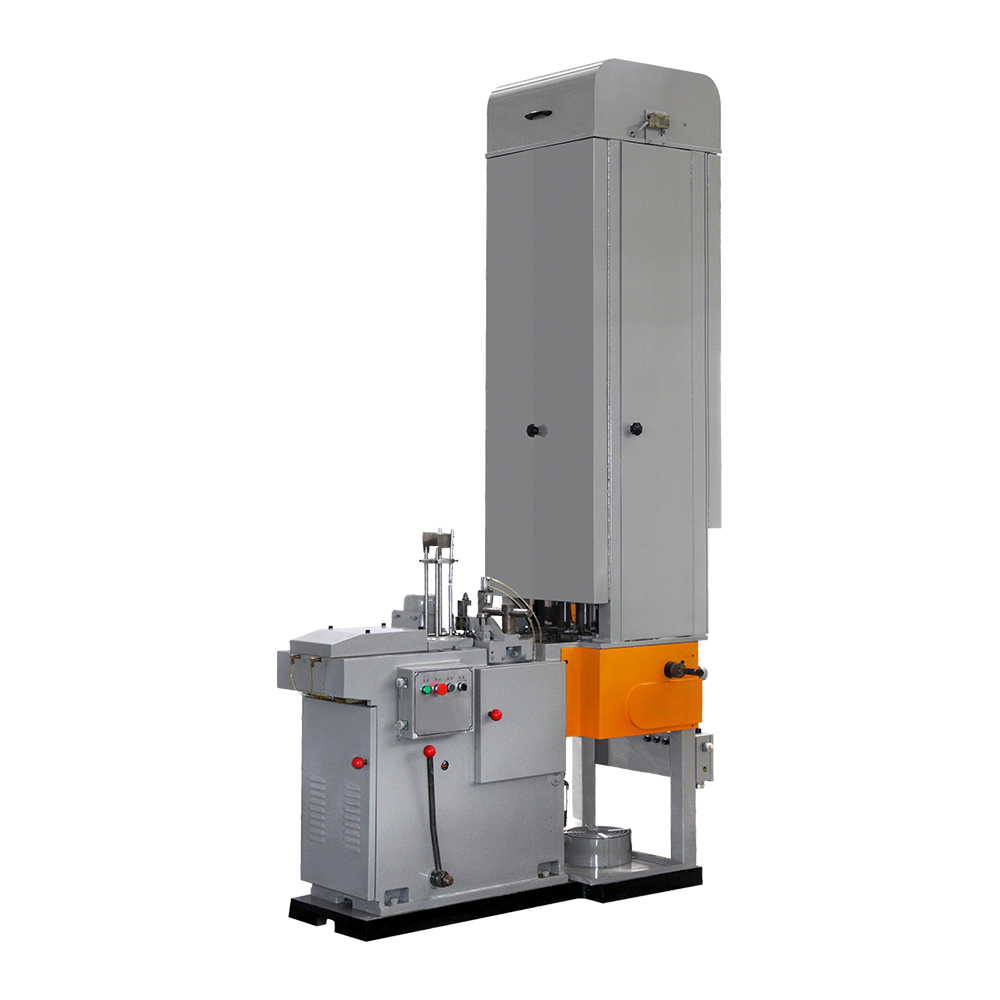
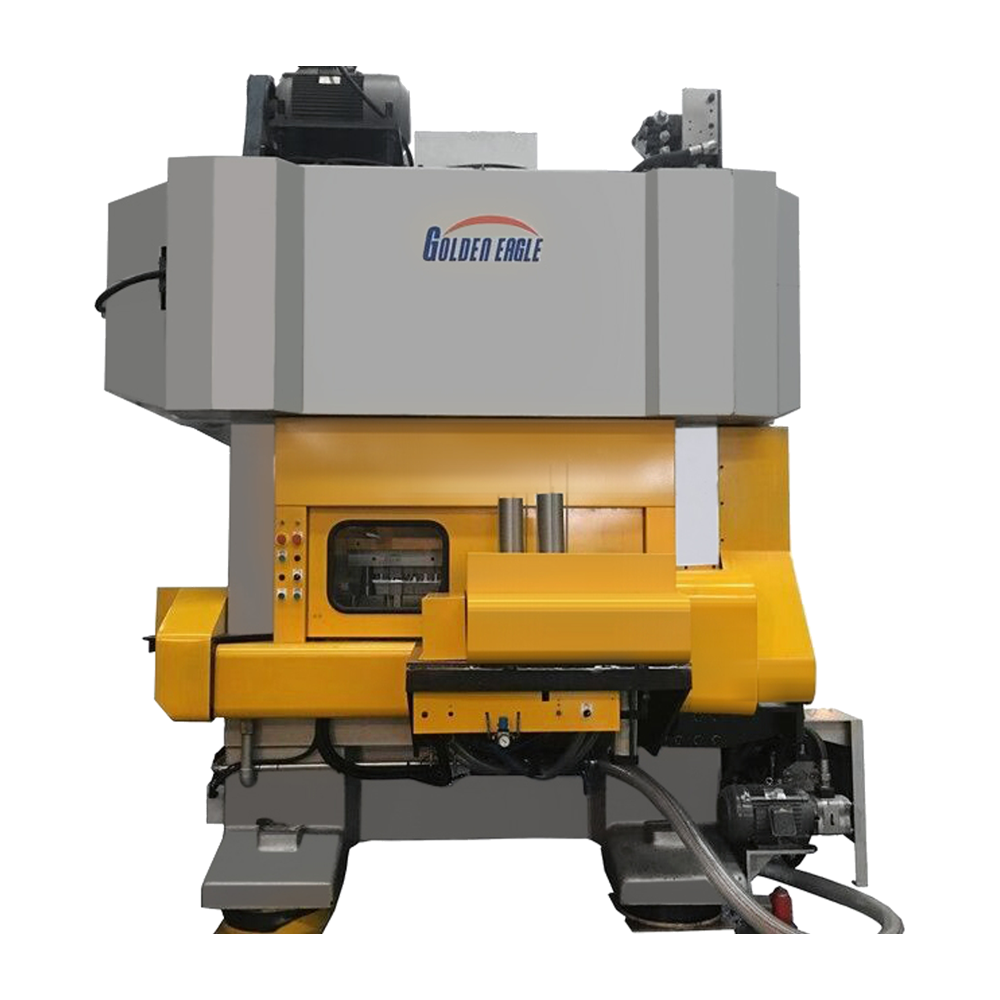
Post-repair Machine for EOE Scoreline is a device specially designed for repairing cuts on full-open cans (EOE). One of its core functions is to automatically detect cut defects. The accuracy and efficiency of the automatic inspection process directly affect the quality of the repair work and the overall performance of the production line.
1. System composition
The automatic inspection system is one of the core components of Post-repair Machine for EOE Scoreline, which usually consists of the following parts.
Optical sensor: used to scan the cut area of the can cover. The optical sensor measures the depth and width of the cut by the change in the reflection of the light beam, and can provide high-resolution detection results.
Laser scanning system: The laser beam accurately scans the cut to obtain the three-dimensional data of the cut. Laser scanning can provide high-precision cut shape and position data to ensure the accuracy of the detection results.
Image processing unit: The data collected by the optical sensor and laser scanning system is converted into digital images, and processed and analyzed. The image processing unit can identify the specific characteristics of the cut, including depth, width and position deviation.
Central control system: responsible for coordinating the work of each detection module, receiving and analyzing data, and making detection decisions. The central control system determines whether the cut needs to be repaired based on the set standards and parameters.
2. Detection steps
The automatic detection process usually includes the following steps.
Preparation stage: Before the formal detection, the equipment needs to be initially set up and calibrated. The operator will set the detection parameters according to production requirements, such as the standard depth and width of the cut, and the allowable error range. At the same time, the optical sensor and laser scanning system of the equipment need to be calibrated to ensure the detection accuracy.
Positioning and clamping: At the beginning of the detection, the automatic clamping system of the equipment accurately positions and fixes the can cover at the detection position. The accuracy and stability of the clamp are crucial to the accuracy of the detection, which can prevent displacement or shaking during the detection process.
Scanning and measurement: After the equipment is started, the optical sensor and laser scanning system begin to scan the cut area of the can cover. The optical sensor obtains the depth and width data of the cut by detecting the reflected light of the cut; the laser scanning system obtains the three-dimensional shape data of the cut through the laser beam.
Data processing: After scanning and measuring, the image processing unit processes the collected data. The system compares the actual size of the cut with the set standard to identify whether there are defects beyond the allowable range. The image processing unit can generate detailed images and measurement reports of the cut for subsequent analysis.
Result judgment: The central control system determines whether the cut of each can cover meets the quality standard based on the data processing results. If the cut has defects, the system will mark it as an object that needs to be repaired and send it to the repair link; otherwise, the equipment will automatically send it to the next process.
3. Data processing and recording
During the automatic detection process, the equipment will record various data in real time, including the depth, width, position deviation, etc. of the cut. These data are not only used for on-site detection and repair decisions, but also for later data analysis and production optimization.
The data recording system can generate detailed inspection reports, recording the inspection results and repair status of each can cover. By analyzing these data, manufacturers can identify potential problems in production, optimize production processes, and improve production efficiency and product quality.
The automatic inspection process of the Post-repair Machine for EOE Scoreline is an important part of ensuring the quality of the cut marks on cans. Through high-precision optical sensors, laser scanning systems, image processing units and central control systems, the process can achieve comprehensive inspection and accurate analysis of the cut marks. The automated inspection of the equipment improves production efficiency, optimizes product quality control, and promotes technological progress in the metal packaging industry.
